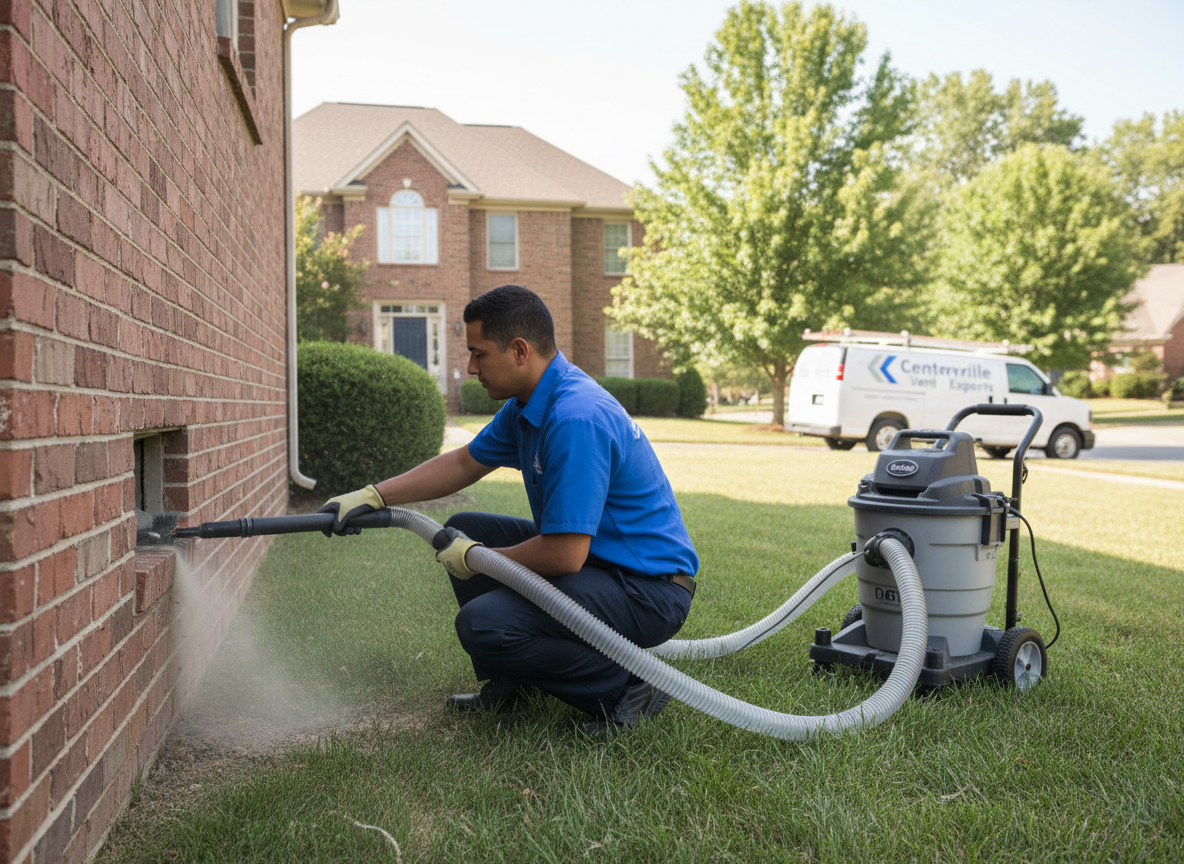
Dryer vents in Centerville homes built between the 1960s and 1980s often run horizontally for twenty feet or more before exiting through the foundation or rim joist. These long metal or semi-rigid ducts collect fine lint that restricts airflow and raises exhaust temperatures inside the duct. Homeowners notice longer drying times and warmer laundry rooms during the colder months when windows stay closed and dryers run more frequently.
Flexible plastic or foil accordion vents common in additions around the Centerville area trap lint at every corrugation and can collapse under their own weight. We replace these sections with smooth-wall rigid pipe where code allows and ensure the exterior termination flap opens fully without bird nesting. The work requires pulling the dryer, detaching the vent at both ends, and using a rotary brush system sized for the duct diameter to reach the full length without damaging joints.
Moisture from the dryer can condense in cooler sections of the vent that pass through unconditioned crawl spaces typical under many Centerville split-level homes. This damp lint packs tighter and creates a breeding ground for mold. After brushing, we vacuum the line and inspect the termination point for proper clearance from windows, doors, and soffits to meet current venting guidelines.
Common Vent Configurations in Centerville
Ranch homes along Wilmington Pike frequently route the vent under the slab edge or through the basement wall, creating low points where lint settles. Two-story homes near the Washington Township line often have vertical risers that require access from both floors.
Technician insight
In Centerville the thing that catches most people out with dryer vent cleaning is the long horizontal runs under 1970s ranch homes along Wilmington Pike that dip into cool crawl spaces where moisture turns lint into a dense plug no shop vac can reach.
Ranch Home Near Wilmington Pike
The homeowner reported clothes taking two cycles to dry and a warm laundry room. We found a twenty-two-foot run with three low elbows packed solid with lint and condensation. After full rotary brushing and vacuuming plus two rigid pipe replacements the vent cleared completely and the dryer finished loads in the normal time.
How it works
- 1
Inspection
We pull the dryer, examine the existing vent material, measure total run length, and check the exterior termination for obstructions.
- 2
Access Setup
Disconnect the vent at the dryer and at the wall or floor penetration, then clear a path for the rotary brush and vacuum.
- 3
Mechanical Cleaning
Run a spinning brush through the full length of the duct to break up compacted lint, followed by high-volume vacuum extraction.
- 4
Repair and Reassembly
Replace damaged or collapsed sections with rigid smooth-wall pipe, secure all joints with metal tape or clamps, and reattach the dryer.
- 5
Final Check
Test airflow at the exterior vent and confirm the dryer reaches normal operating temperature without restriction.
Pricing
Cost depends on total vent length, number of elbows, and whether rigid pipe replacement is required.